HEATING
Hydronic radiant floor heating has gained popularity in recent times for new construction homes in the U.S. With this type of heating system, hot water runs through PEX or copper tubing in the floors (either in slab or over floor joists). This heating feels great on the feet but can be less efficient for heating and can be more difficult to service in the long-term or get punctured when remodeling. Additionally, the running water in the tubing under bed or sitting locations can cause discomfort to some with flowing energy similar to Geopathic stress.
A healthier alternative is hydronic radiant radiator heating, which has been historically used in Europe as the predominant heating system and in some cities like San Francisco. In recent years, it has been gaining some popularity in the United States, particularly in new construction and high-end homes.
Hydronic radiant radiator heating utilizes water as a medium to transfer heat from a central heat source to various rooms. This system involves the use of radiators, which are designed to release heat into the surrounding air. This type of heating has several advantages:
- Energy efficiency: water is more efficient for heating than air. In addition, thermostat and control by zones allows occupants to control the temperature independently in different rooms
- Zero electromagnetic fields
- Quiet operation
- No ducting (which can lead to dust and mold issues)
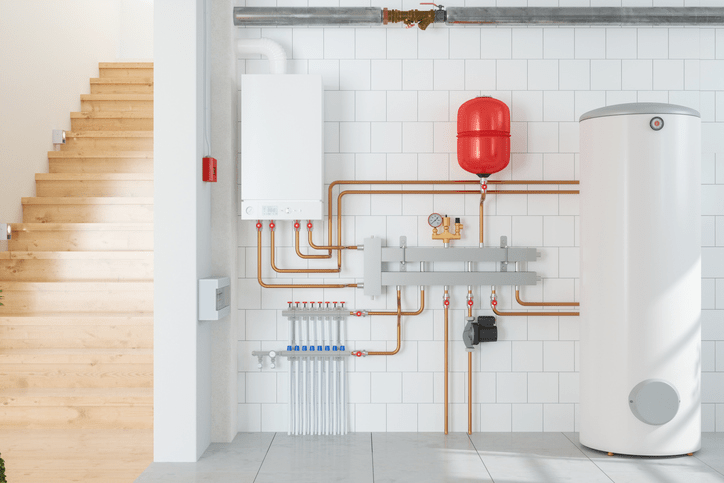
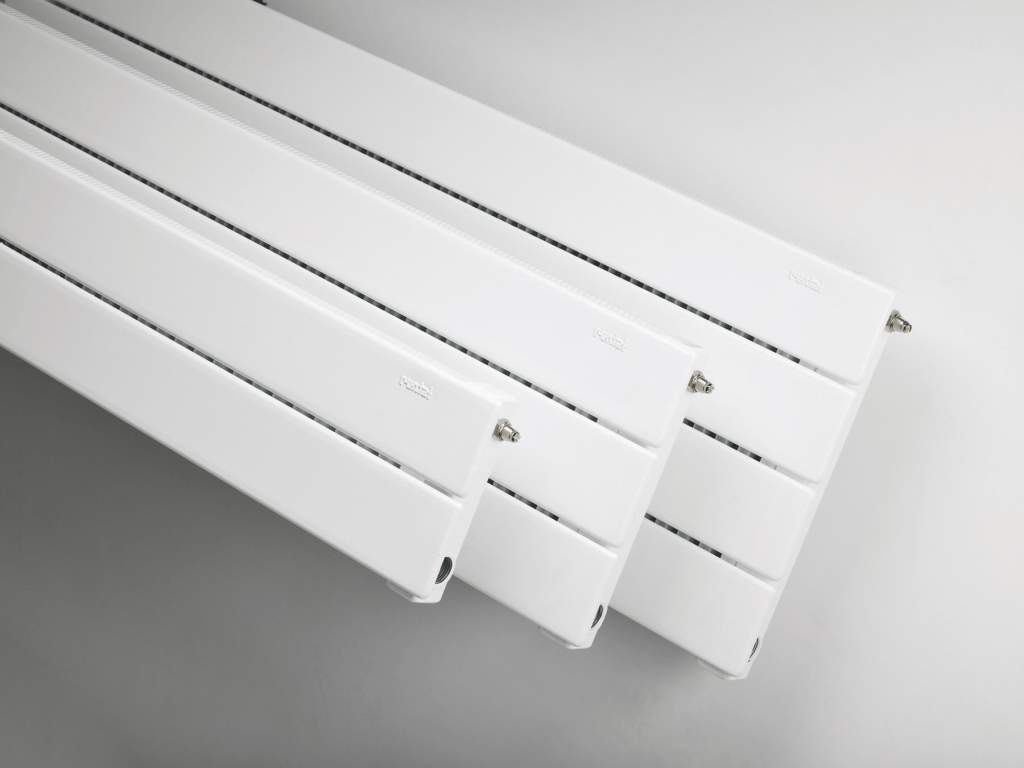
For our install, we’ve hired a premier local heating and plumbing company. They have designed and integrated our plumbing and mechanical system which consists of a combo gas water and heater tank, a hot water storage tank, manifold, seven radiant radiators, and two zones with wired thermostats. On their recommendation, we’ve selected Runtal radiators: “The Runtal brand is considered a world leader in radiator technology, having invented the flat-panel steel radiator back in 1953.”
So far, this has been one of the best investments we’ve made with our new home build. We’re documenting the entire process from the planning, design, mechanical rough-in, and soon-to-be radiator installation and look forward to sharing it all with you on our podcast, in our book, and our social media platforms.
ELECTRICAL
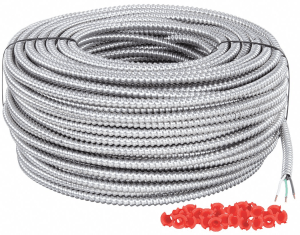
There are two solutions that were the key drivers for building a custom home. One, installing metal-clad wiring, also known as armored cable (AC) or BX cable (a specific type of armored cable), has advantages for anyone building a new construction home. Specifically:
- Mechanical Protection: Metal-clad wiring provides mechanical protection for the electrical conductors inside.
- Durability: The metal sheathing makes it resistant to physical damage, rodents, and fire damage.
- Resistance to EMFs: The metal armor of the cable provides some level of protection against electromagnetic fields (EMFs) and electromagnetic interference (EMI) radiating out into the room.
Homes in the U.S. are mostly built with non-metallic sheathed cable (NM cable), commonly known by the trade name “Romex.” Romex wiring is generally more cost-effective, easier to install, and is an accepted and widely used wiring solution that meets code requirements.
While metal-clad wiring is more expensive than Romex wiring, it is less flexible which can make installation more challenging, and it needs proper grounding, we believe the healthy and safety benefits outweigh this. In some areas like Chicago, code requires metal clad in new home construction. And in some major cities like San Francisco, residential buildings like apartments and condominiums require metal clad if they are four stories or higher.
The second health driver is to have wired internet service throughout the home using CAT6 shielded ethernet wiring and shielded coax cables in all rooms and transformer-less lighting.
PLUMBING
We outsourced plumbing to a local plumbing company who will also install our heating system. They will be setting up our mechanical area in the garage with a tankless combo water heater, a hot water tank, manifold, simple motor pump, pans, drains, and a whole house water purification system to filter out chloramine.
Our main requests were:
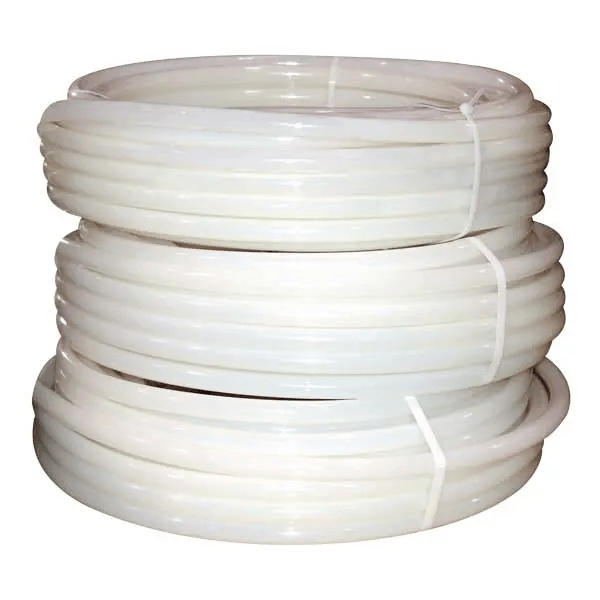
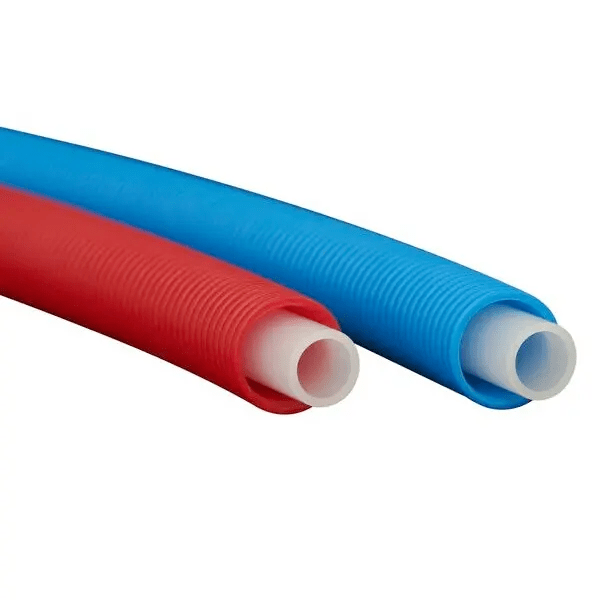
- Install PEX plastic pipes for the water supply pipes. While copper pipes are less prone to rodent damage, they can carry an electrical current if there is an electrical error in the neighborhood, add toxic industrial copper to the water, and unlike plastic, copper can crack or break if water freezes it.
- Layout plumbing runs with no water pipes below sitting or sleeping areas.
- Use a low VOC pipe adhesive following the pipe assemble as described in the “Prescriptions For A Healthy House” book.
- Fiberglass pipe insulation that does not contain formaldehyde.
- Sealed plumbing penetrations to prevent unwanted air infiltration using healthier gaskets and sealants.
- Limit plumbing in exterior walls
- Tankless combo boiler and water storage tank.
- Back flow protection.
WHOLE HOUSE WATER FILTER
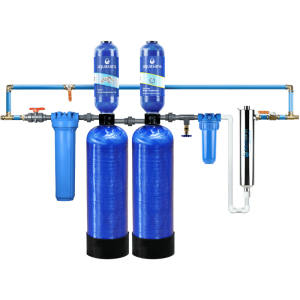
We were advised to find out which disinfectant is used to clean the water and to check the water quality report for our town to know what we needed to filter in order to select the best filtration system for our needs.
Chloramine is the disinfectant used in our area. It has been associated with various health conditions and cannot be removed through boiling, distilling, or simple carbon filtration like chlorine.
At a high level, the report for our area showed .2 lead levels, no bacteria, and low levels of fluoride, arsenic, and copper (the latter three would need a separate reverse osmosis filter which we don’t plan to install.) We also have hard water which will need salt-free conditioning to prevent chalky buildups in our plumbing system.
We are still researching whole house water filters. “Prescription for a Healthy House” has several pages on the selection process and recommends referring to the National Sanitation Foundation (NSF) for testing and certification of water treatment systems and components.
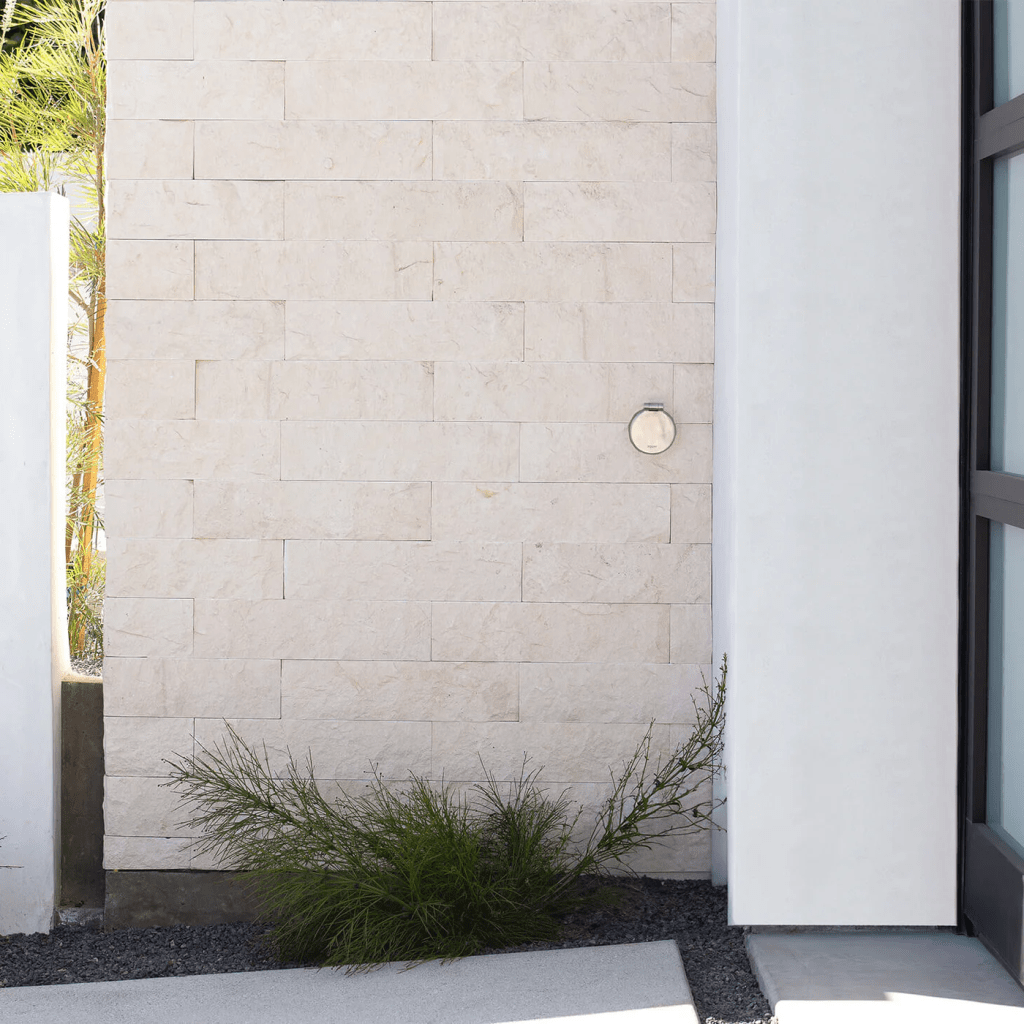
AQUOR HOSE BIBBS
Finally, we upgraded from the traditional bulky hose bibb to the innovative, flush, modern Aquor hose bibb. In addition to the sleek design, they have a user-friendly connection system and durable materials that reduce the risk of leaks.
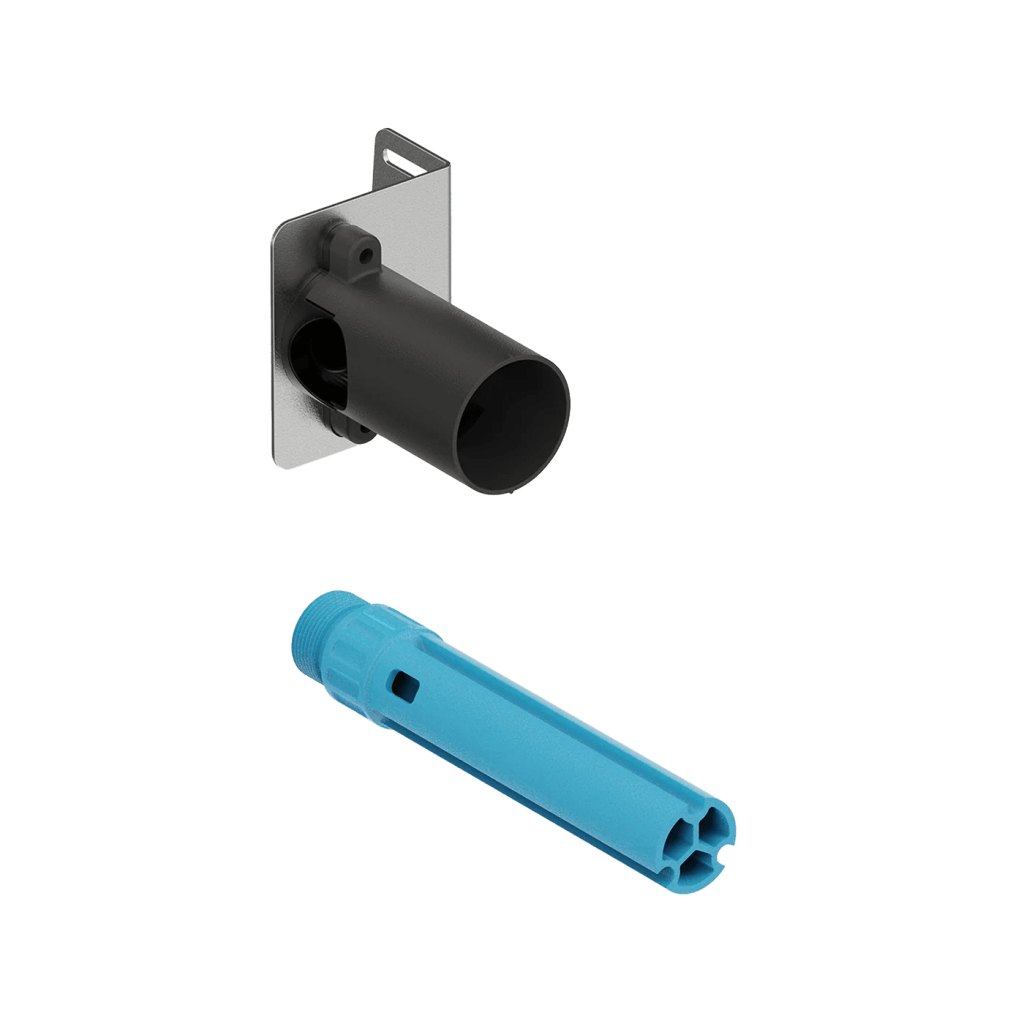
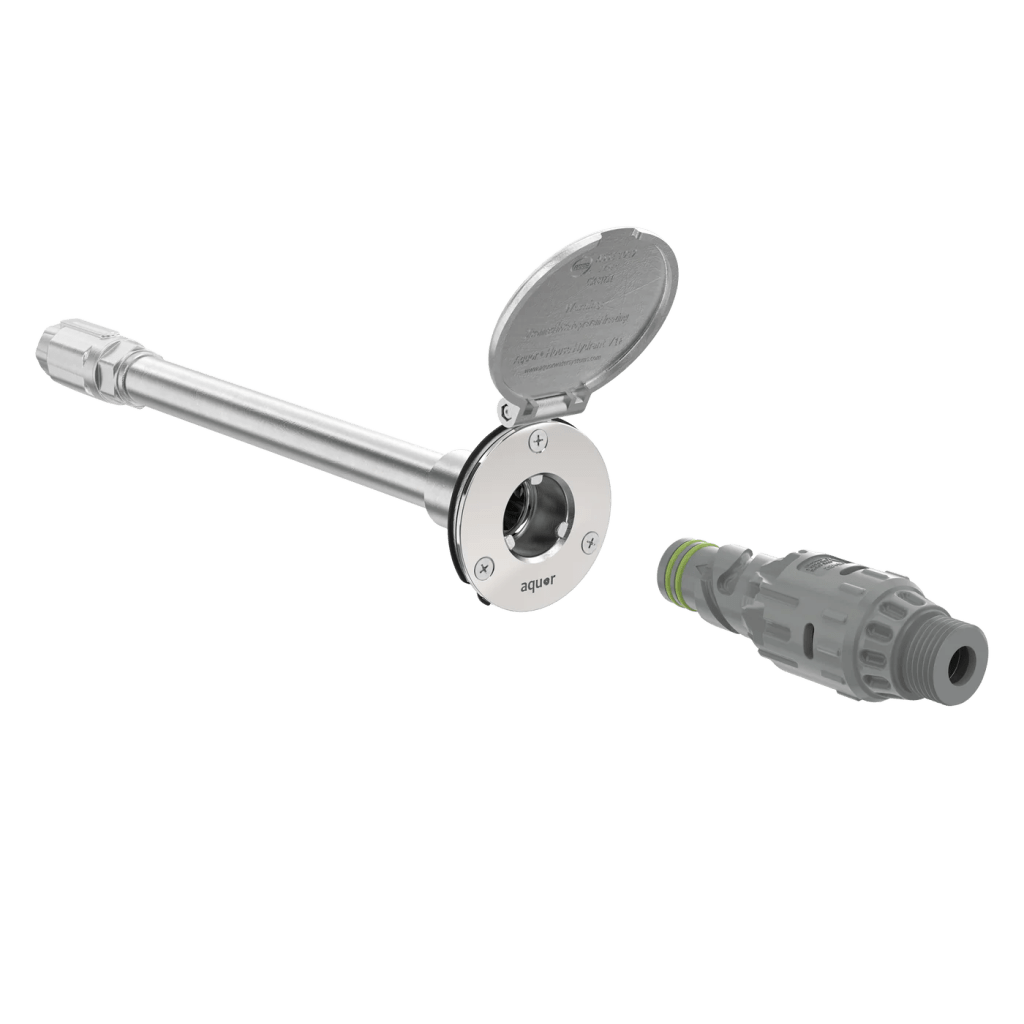
While it’s possible to replace a traditional hose bibb down the road with an Aquor hose bibb, we preferred making the replacement before the interior wall and exterior stucco were installed. This meant we needed to increase the width of the standard 1″ inch hole to 1.5″ and install a 90° Bracket Mounting Sleeve V1+ designed to simplify the House Hydrant V1+ installation process once the stucco is on.
While this set-up ensures a waterproofed installation and easy front serviceability, we also plan to install an 8×8 Envisivent Magnetic Flush Mount Access Panel on the interior drywall behind our second floor deck hose bibb as added safety. And for sealing off air and water penetrations, we will add a Quick Flash P-150 panel flashed with Henry Blueskin ZeroFlash Tape and 212 All Purpose Crystal Clear Sealant on our VP100 WRB. We’ll be taking photos and making a video on our YouTube channel so please subscribe if you are interested in learning more about the steps we are taking to build a healthy home.